 My mom asked me a good question after reading my post about the grape drink, in regards to whey. It made me realize that I need to share how to make whey so you can make lacto-fermented drinks, veggies, etc. and also soak grains. It is so easy…here are the steps…
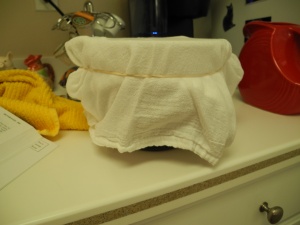
1. You need a living dairy product (raw soured milk (clabbered) or yogurt). Using a clean bowl lined with a tea towel (I use the potato sack cloths from Target) pour the yogurt or clabbered milk into the bowl. Gather the tea towel and secure with a rubber band. Hang on a kitchen knob over the bowl (the solid stays in the cloth and the liquid, aka the “whey” drips down into the bowl).
2. The amount of time varies based on your desired cream cheese consistency.
Yogurt: I do a quart of yogurt and leave it for several hours (a good part of the day) and it yields about 2 cups whey and 2 cups cream cheese. The whey will last for about 6 months in the fridge (but I can’t actually vouch for that as I always run out of whey with all my drinks and veggies). The cheese will last for about 2 weeks but let your nose be your guide.
Raw Milk: If you are using clabbered milk – take raw milk, place on the counter on its side for about 24 hours to “clabber” it (it gets chunky). Then pour it into the towel lined bowl as mentioned above and let it sit for several hours to desired consistency.
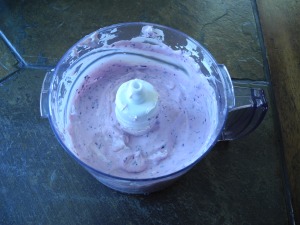
3. Transfer the whey into a mason jar and secure tightly with a lid (any glass storage container will do). I divide the cream cheese and make one cup sweet (throw it in a food processor with maple syrup and walnuts; or fresh strawberries or other seasonal berry) and one cup zesty (season with salt, and fresh dill or chives to taste).
For recipes using whey visit the lacto-fermented recipes. The benefits for whey can be found (in the future once I get around to updating) in the “traditional lifestyle” section.
How do you make your whey? What do you use your cream cheese for?
This post is shared on Real Food Wednesday , Homemaking Link Up , Monday Mania , Pennywise Platter , Fight Back Friday
Read Full Post »
 Oh how I have ALWAYS loved blueberry cream cheese. I remember growing up, in Denver, going to local bagel shops. I would order a blueberry bagel with blueberry cream cheese! I try to limit (well, I have completely in fact) bagels (and other white flour – but maybe some healthy bagels are in my future) but have found no reason to eliminate or limit at all the blueberry cream cheese – this is healthy, 100% natural and full of amazing enzymes.


